
Being a liberal man can be trying at times
My wife went into labor on a Wednesday afternoon. When I found out about it at 3pm, I immediately left work to pick up our daughter from daycare. I was working in the videogame industry at the time, which is incredibly abusive to its captive labor market of young gamers. The head of that now-defunct games company insisted we all work ten hour days, so I had only worked from 7am to 3pm that day. After the birth of my second child, I took two vacation days on Thursday and Friday.
ASIDE: I might have been eligible for some paternity leave under some laws, even at a small company, but the company didn't offer me anything or give me a mechanism for applying for paternity leave, so I was totally unaware of that possibility, and there was a lot of social pressure against taking any leave at all.
When I returned to work on Monday, my boss called me into his office (when he finally arrived at 10am). He had a new contract on his desk that he wanted me to sign. He told me directly that "since I was missing so much time" it was only fair that I was moved from salaried pay to hourly pay. Essentially he wanted to lower my pay because I took two days off for the birth of my child.
Obviously I didn't sign the contract and I immediately began looking for another job. I found one quickly, and moved to a new company, but this wasn't a blessing either. I then had a newborn baby, a toddler, and a brand new job all at the same time.
I was sleeping 45 to 90 minutes every night. For the first week of the new job I had the flu, and it was obvious. But I had no sick time accrued, so I had to work.
I didn't get much more sleep for the next two or three years. My partner refused to let the kids cry it out, so they never learned to self soothe. She had maternity leave, of course, but I didn't get anything from the startups I was working for at the time. So I had to go to work sick and sleep deprived for years.
It was awful.
One Monday I came into the office bleary eyed and groggy. My head was sore, my sinuses were swollen and I was exhausted on every level. I went to get coffee and ran into a coworker who we will call Sam. We only had a very brief conversation. It went something like this.
Me: How was your weekend?
Sam: Pretty good. I mostly just played videogames and hung out.
Me: That sounds nice.
Sam: How was your weekend?
Me: Oh I barely got any sleep or rest. I wish I had some paternity leave.
And that was pretty much it. There might have been an additional sentence or two, but it was the type of standard, perfunctory conversation that is commonly experienced on a Monday morning at work.
The next day when I sat down at the company's shared lunch table I was absolutely blind-sided by the conversation. I was so stunned by the conversation that I can't recall the exact words that were exchanged.
As I was sitting down, Sam brought up our conversation from the prior morning. Sam told the entire workforce that I was a men's rights activist and a member of the alt right. I think Sam intended it as kind of a funny conversation starter, but before I unpacked my lunch the word "neo-nazi" was said about me by one of my coworkers.
I remember sitting there in a daze with words flying around me that I didn't have enough time to ingest let alone respond to. Everyone was talking about my politics without caring about my perspective or the complexity of the issues involved.
Before I knew what was happening, everyone was looking at me, expecting me to defend myself against the accusation that... because I thought men deserved time off when their kids were born, I must be a men's rights activist, which made me alt-right, which in turn made me a neo-nazi.
Now at that point I had only lived in California for around six years. We moved out here from Pennsylvania for school and work, but we stayed because we liked the liberal milieu. We liked the liberal politics, and the diverse neighborhoods. We wanted to raise our children in a place that cared more about parks than about professional sports.
I myself was a committed liberal. I phone banked for Obama, donated hugely to the Democrats, walked in multiple pride parades, and campaigned for clean energy.
So this was a shocking, and offensive turn of events. It has prevented me from speaking about politics in public for a decade because I was scared of losing my job or derailing my career.
In fact I've never publicly written about this experience under my own name. It was a really difficult time for me, and whenever I bring up the issues that have impacted my life, I get a similar response to the one I got at work that day. People tell me that, as a straight white man, talking about the issues I face is somehow wrong or hateful, and they make the conversation about their own group.
I'm talking about this now because I'm still, somehow, a committed liberal. I know that climate change is the most important issue facing our country and our species. Since the Republicans are a wholly owned subsidiary of the obsolete fossil fuel industry, I can't possibly vote for them.
But the Democrats are busy trying to lose the upcoming election anyway.
They've searched for reasons why men are shifting right and they've come up with all the usual nonsense that avoids any actual introspection. I've read dozens of op-eds in major newspapers that treat men as inherently problematic, and explain how misogyny and toxic masculinity are the problems. They blame the "manosphere", which is slang for the convenient scapegoats of the media and men themselves. They blame messaging and suggest that going on the podcasts that men listen to will somehow turn things around. And Pete Buttigieg grew a beard, which is apparently okay now.
Democrats will do anything except acknowledge that men are just a typical constituency who want policy that improves their lives. Men are facing huge gaps in education, healthcare, parental rights, job access, and more. There are dozens of ways that Democrats could support policy that would help men.
So let's take a quick look at the California Democrat platform as of October 14th, 2026. It's less than a month until the election, and the Democrats have been trying to court men. I'm curious about what they've put in the platform to help men...
Wow, there are a whopping 23 subheadings on this platform! The Democrats clearly care about a wide range of people, issues, and constituencies. There's a subheading for Children and Families. There's one for Seniors. There are subheadings for Women, Young Adults, Immigration, and whatever "Rural" is.
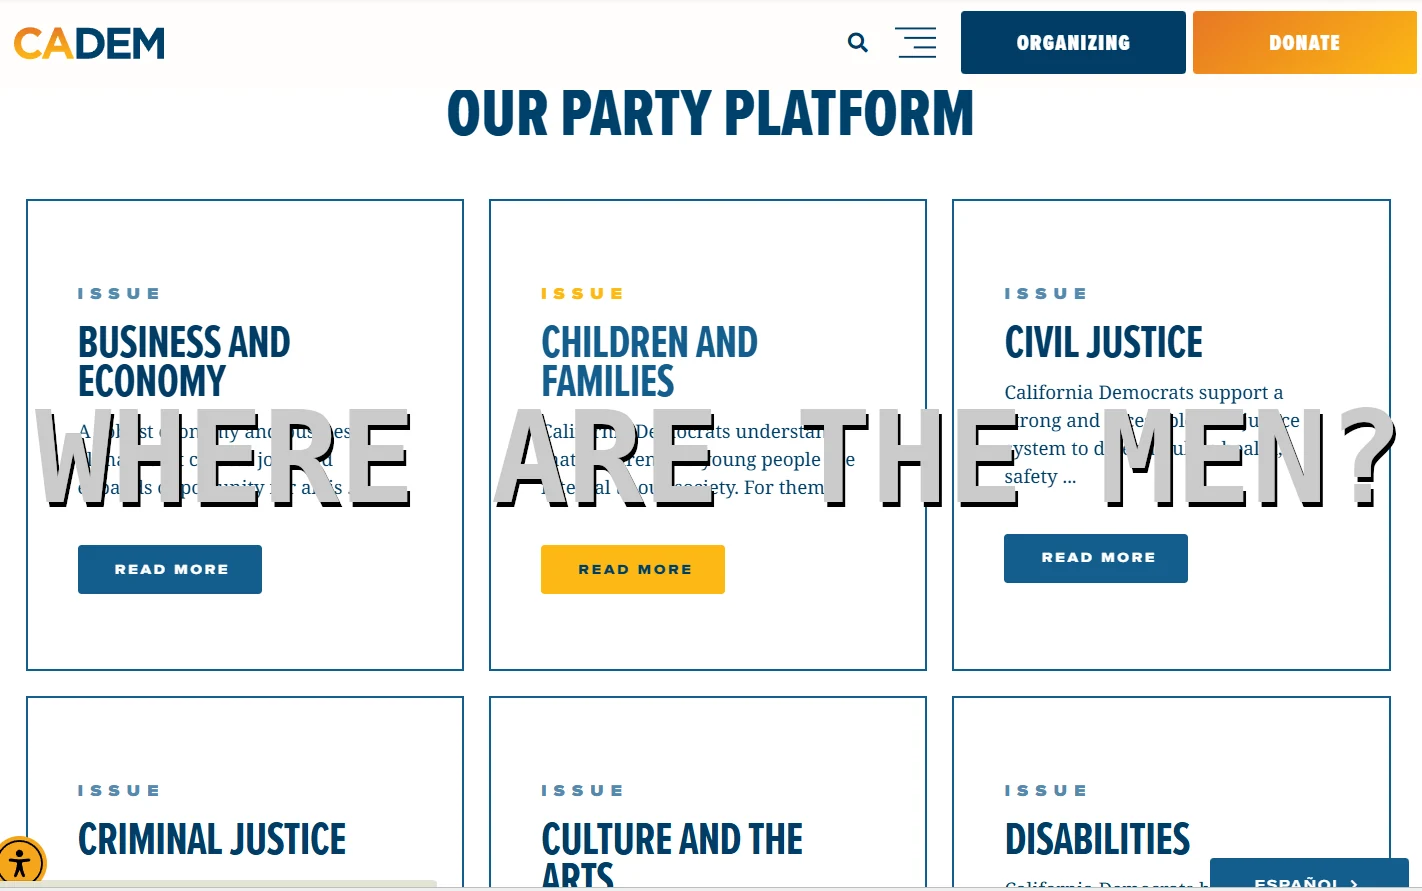
But there's one constituency that doesn't appear a single time on this platform. If you guessed men, then don't tear a ligament trying to pat yourself on the back. After decades hearing nothing but negativity about men from the left, we know there's no spot for us there. I didn't seriously think there would be.
For Democrats to acknowledge that men are just regular voters is impossible. The Democrats would rather believe that men are motivated by misogyny or the scary manosphere or whatever other boogeyman they invent. They want to continue throwing around gender based stereotypes like tech bro, gym bro, incel, performative male, or some other word salad.
Because if they acknowledge that men are just normal voters who, like any other constituency, just want a government that represents their interests, then it flies in the face of two decades of Democrat rhetoric about toxic masculinity, male privilege, and misogyny. For them to treat us like regular people is to acknowledge the abuse and hate that they have supported for years.
Some people expect a blue wave in 2026.
It's hard for me to believe that Trump and the Republicans can continue winning when they do nothing but destroy the economy and the environment.
But it's a month before the election, and the California Democrat platform doesn't use the word "men" even once.
NOTE: Brothers, you are entitled to eight weeks of paternity leave in California. Don't let your employers mistreat you like I did just because of social pressure.
Backrooms: Is it possible to escape the capitalist labyrinth?
Last night was my third night alone here at our new cabin in the Pacific Coast Ranges. I'm here doing some DIY to get the cabin into shape. It has been lovely to spend some time utterly alone in the mountains, hearing nothing at night except the sound of the wind in the trees. It's certainly a good break from my hectic life in Silicon Valley.
As I settled into bed in the pitch darkness of the woods, I decided to watch one of the A24 releases that I missed earlier this year, Backrooms. After watching the cold open I realized that I would never get to sleep if I continued, so I put it away until I could finish it at lunch time today.
Backrooms really resonated with me. It resonated with me in multiple ways. Maybe a great movie resonates in a different way with every audience member, but I feel like it spoke to a lot of the issues that I've been struggling with lately.
And before I go on, I should say that I'm not going to deal with the extended universe of Backrooms that exists outside the movie. I was unaware of that material going into the movie, and I want to consider the movie as a standalone experience for now.
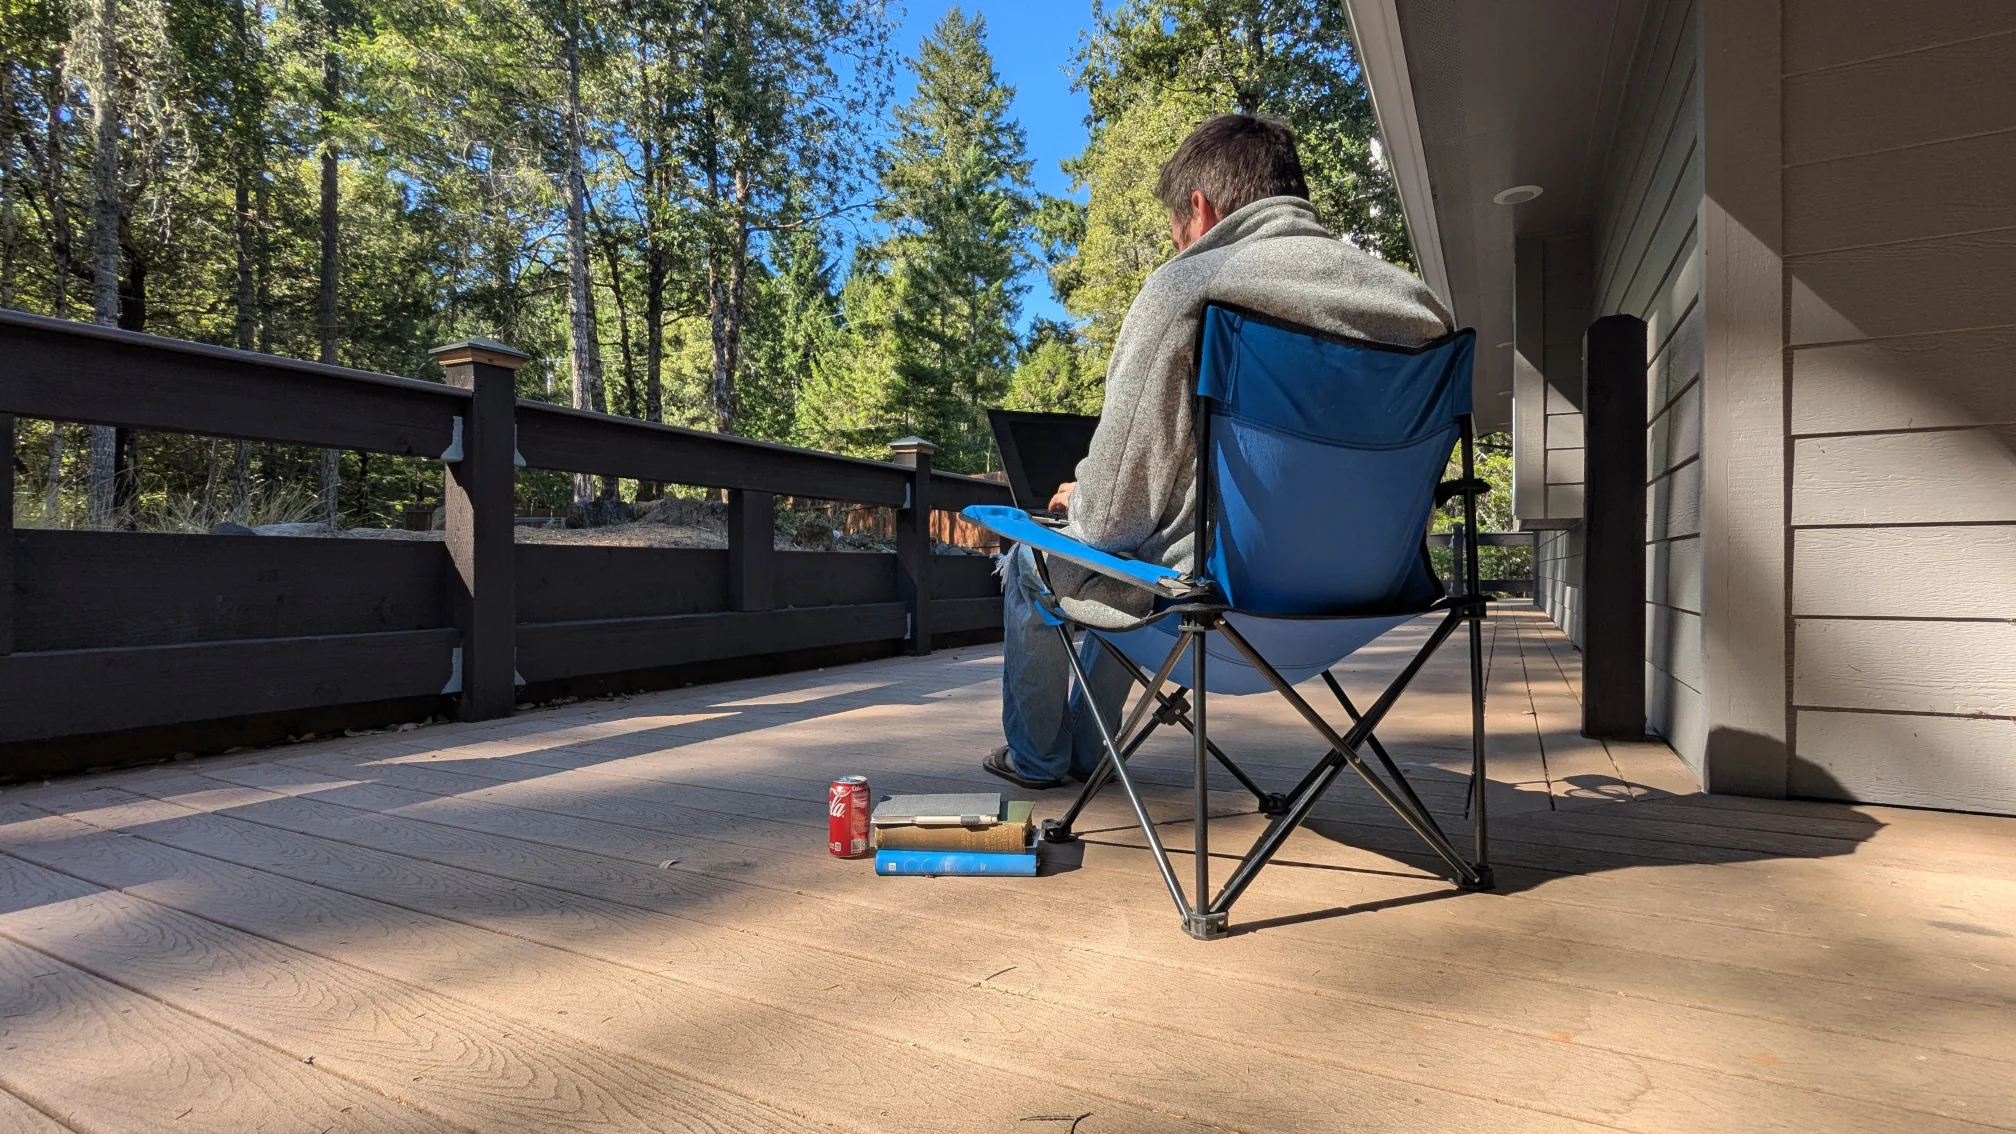
The setting of Backrooms is an uncanny version of Silicon Valley in 1990 that has all the style of 1990, but all of the capitalist anxiety of the 2020s. It features a man who is drawn into a parallel universe that mirrors a distorted version of his own reality. It then tells a story that is a reimagining of Theseus and the Minotaur, but with all the trappings of the setting.
The setting felt so personal to me. Not just because I live and work in Silicon Valley, at the heart of the machine that powers our grimly capitalist society, but also because I was alive in 1990. I was 8 and 9 years old in 1990 and I got sick a lot at that time. My parents couldn't always affort to take sick days to take care of me, so I was often left to explore the empty parts of the office buildings in which they worked. I remember the dark scary rooms with dusty drop ceilings that seemed repellant to all life. When I saw them again in Backrooms I immediately felt the fear and anxiety that director Kane Parsons was channeling: the fear and anxiety of being lost in a massive world that isn't fiendly to your presence.
But it wasn't just the setting of Backrooms, it was also the transmutation of capitalism into a brutal maze that is impossible to conquer, understand, or even escape. I'm not sure if it's what Parsons intended when he made the film, but this embodiment of capitalism as a maze and a monster is the most tangible depiction of our society that I've ever experienced on film.
Because capitalism is a game that humanity invented only 500 years ago, and now we can't escape it. Now we're stuck inside it fighting monsters of our own invention, much like Clark gets stuck in his own back rooms.
The way he was drawn into the labyrinth felt so real to me. He was struggling with so many issues in his life. He wanted a family and a comfortable life, but the only way he could get those things was by participating in capitalism in a way that he didn't want to. He set out to be an architect and make beautiful buildings, but in middle age he found himself selling furniture to support a partner who didn't appreciate him.
He was already participating in capitalism in a way that he never set out to, and then a mysterious door opened up in his basement. And why not enter it? Why not explore? His life offered him little fulfillment. His partner was building the career she wanted on his dime, but he was stuck doing the hard work that made it possible. What did he have to lose?
But that attitude only drew him deeper into the labyrinth until the climax, when we saw him living comfortably within it, at peace with the monsters that lived there.
His journey felt so relatable to me. Twenty years ago I wanted to be a musician or make videogames. My music career ended in alcoholism for my bandmates and two semi-useless degrees. When I worked, briefly, in the videogame industry I found that the brutal working conditions outweighed any enjoyment I might have gotten from being there. So I ended up in big tech, working in social media and ecommerce. I was drawn further into the maze. As the voice on the self help tape asks Clark halfway through the movie, "why did you do this to yourself?"
I also related to all the ways that the characters tried to escape the labyrinth. Every way out was an illusion. Each new door only led to more rooms with more uncanny representations of office building despair. This reminded me of all the ways that we try to escape our lives within capitalism by making enough money that we no longer have to work. One of my friends tells me that she's only working her high paying corporate job as a means to an end. Another friend of mine bought houses in Buffalo and became a landlord. I chose to buy this cabin in the woods, and spend my weekends cosplaying as a survivalist.
All three of us are trying to escape the capitalist labyrinth, but in a significant way we were only drawn deeper into the labyrinth. My friend who continues the corporate grind will have spent most of her life in offices like those in Backrooms by the time she retires. My friend who became a landlord chose to become the Minotaur; he became the beast that drives us all. And this cabin will cost me an arm and a leg just to kindle the illusion that I can escape.
A horror movie like Backrooms can be weirdly comforting. Not because it isn't scary; I was certainly holding my breath at several points in the movie. But it's comforting because it's so relatable. It reminds me that I'm not going through all of this alone. Whether the director intended the bleak capitalist symbolism or not, it made me feel seen.
It's hard to overcome your programming
In 2019 my neighbor got a dog. He brought it over to introduce it to us and to my young daughters. It was a small black lab, and I could immediately tell that it was purchased from a puppy mill. It had the characteristic look and health problems, even as a puppy, that inbred dogs get.
But she was rambunctious and as infectiously happy as all young dogs are. She had an energy that was off the charts. She wanted to be in motion at every moment of every day, and well into the night.
Unfortunately, my neighbors wanted a dog more as a security system than as a family pet. They immediately locked her up outside and wouldn't bring her inside even at night. Starting from that day she lived in their backyard, about twenty feet away from our house.
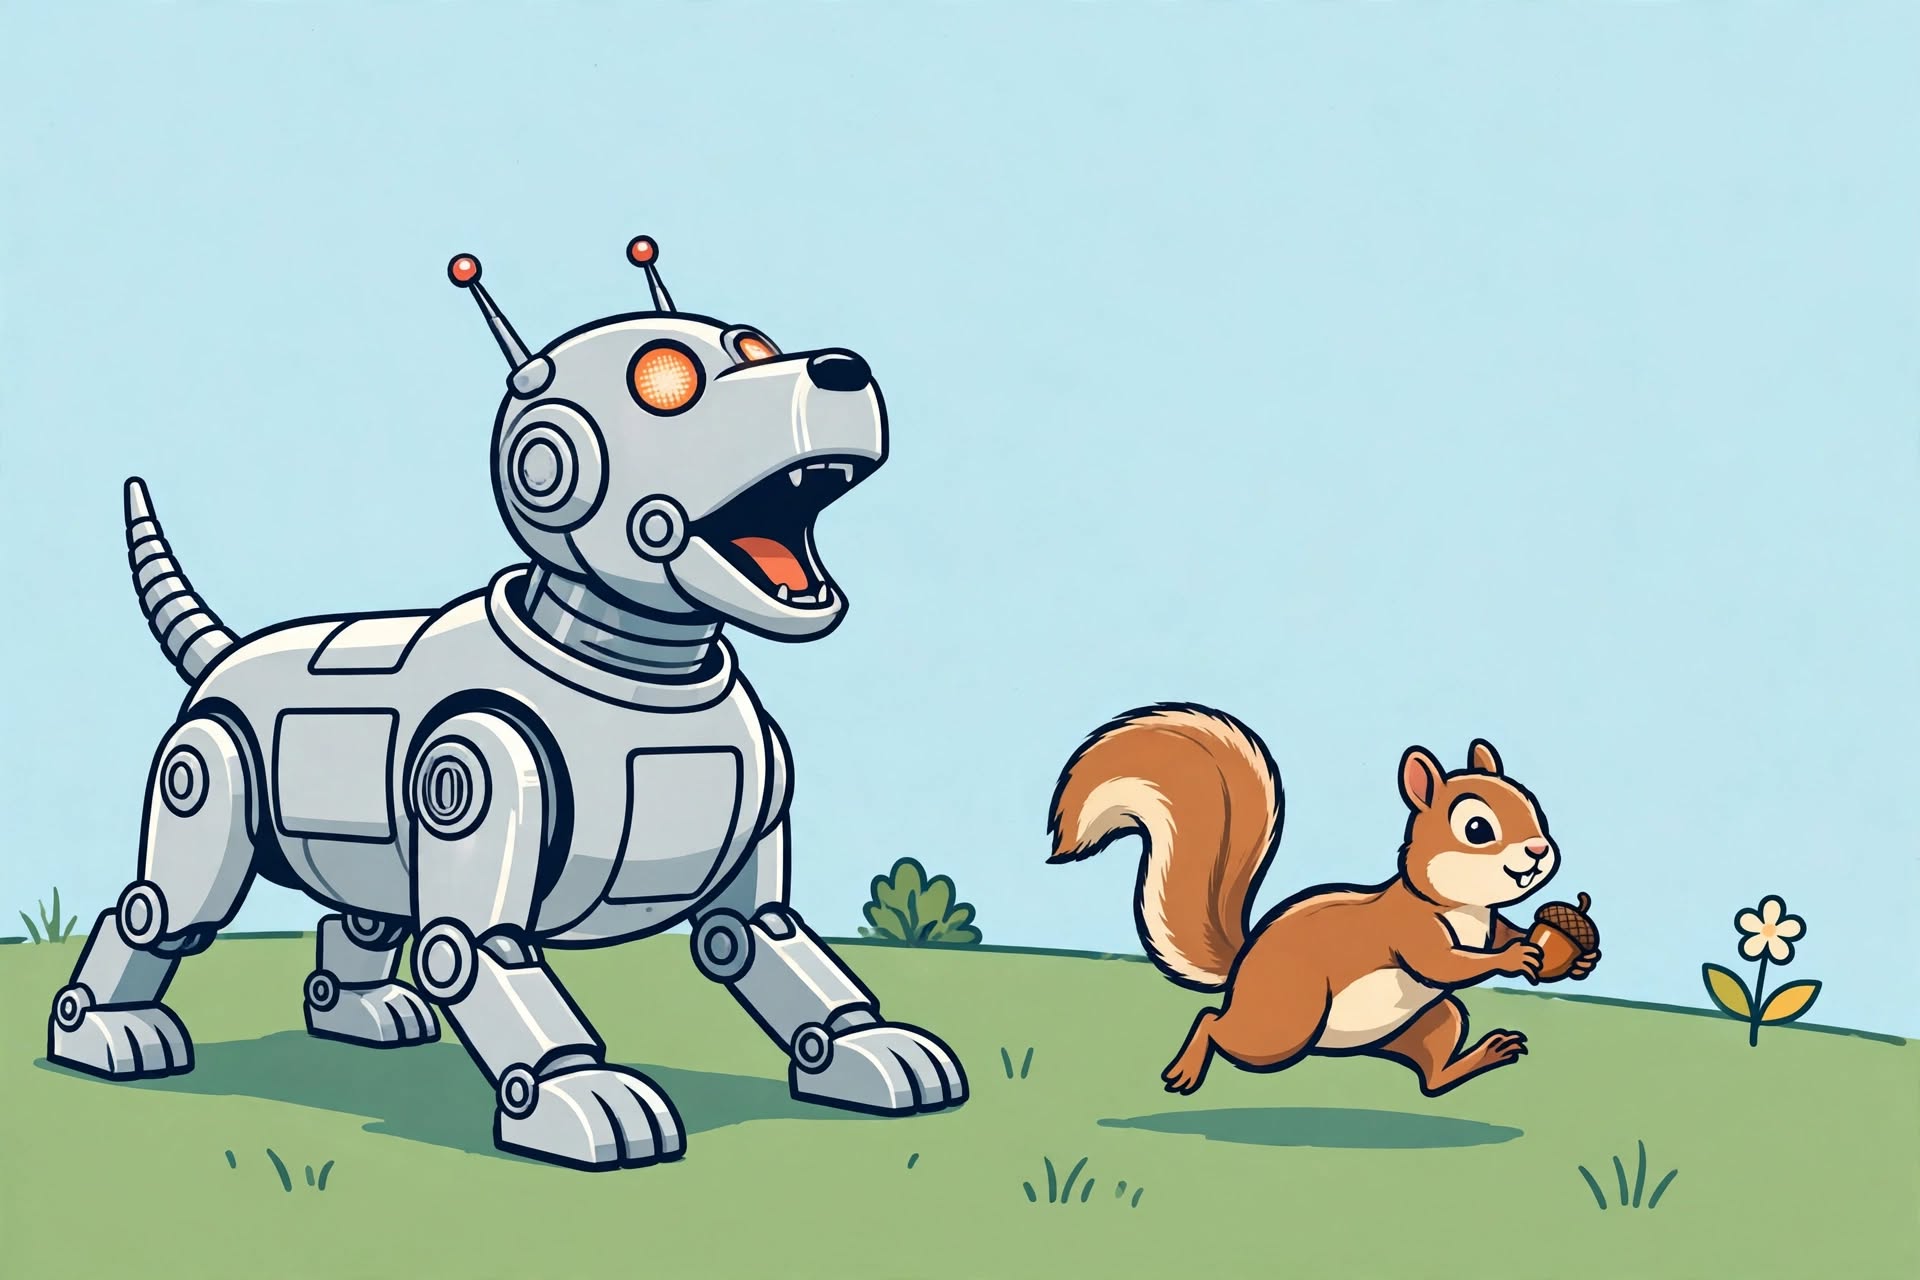
And boy did she ever love to bark. As soon as the sun went down she would start barking with grit and determination. Because she was from a puppy mill, she had bad vision. She would jump at every shadow, then bark for thirty minutes solid. After a few months she was no longer a puppy, so these were the loud barks of a 100 pound black lab.
We complained to them, and asked them to curtail the barking at night since it was keeping our entire family awake. They decided to fit her with a shock collar that triggered whenever she started barking. That was problematic because it was both inhumane, and it didn't even prevent her from waking us up. By the time she got shocked we were already awake, and the shock wasn't strong enough to consistently get her to even stop barking.
We wanted to complain more, but at that time my neighbor was diagnosed with cancer. This put him in the hospital for an extended period of time, and the recovery wasn't quick either.
Before the cancer diagnosis, they rarely walked Shaira. I only saw them do it once or twice. She might have gotten a walk once a week at best. Once my neighbor was in the hospital, she was never walked at all. Neither his wife nor his daughter seemed to want the job. This had a very negative impact on our sleep, as a dog less than two years old has a lot of energy that it needs to expend in some way.
So we started walking her in the hope that it would lessen the barking at night. When COVID hit it seemed to put the nail in the coffin of them ever walking her. So I walked her every day for a while, but it didn't seem to help with the barking very much.
We complained again and again and again. We were woken up hundreds, if not thousands of times by this dog.
But what could we do? Their response wasn't to bring her in the house. Instead they chose to get an even more aggressively painful collar that would tighten around her neck. I think it's called a choke collar, but it looks like something out of the middle ages. I saw her wearing it several times.
But it still didn't stop the barking. They wanted a dog to protect their yard, and that's what they got. Every squirrel that ran by triggered her. Every weird sound in the neighborhood set her off. If another dog walked by where she was fenced in she could bark for hours.
I'm writing this post at 8:30pm in 2026, as I sit here listening to her bark. I've listened to this dog for over seven years now, and it amazes me that she's still going.
Has the barking ever been justified? Has she ever succeeded in protecting her family from a vicious attack? Has the barking ever resulted in a good outcome? After seven years of barking at shadows, what satisfaction can she get from continuing?
On one hand, I want to get angry about it, but on the other hand I just feel like I can relate. Millions of years of evolution programmed this dog to be the perfect guard dog. She somehow knows, on a deep, instinctual level, that it's her job to protect her family at night, and even if she's never been called upon to do so, she's going to continue trying her best.
In a way, it's admirable.
I was laid off at Meta in May. That was difficult for me. Millions of years of evolution tell me that it's my job to work. Society tells me that my value lies in pushing myself as hard as I can every single day, no matter how I feel. No matter whether I succeed, or fail. No matter how much it hurts.
I was proud to get the job at Meta after working my way up at startups over two decades. Now I'm starting a new job at a similar tech company that needs experienced programmers like myself, and I just want to ask Shaira, "how do you keep going?"
We gave up on walking her a few years ago. We can't solve every problem in the world after all, but Shaira is still a loving, cheerful, playful dog. Despite a difficult life, she still gets excited when we come visit with her. She still rolls on her back to enjoy belly rubs.
Maybe it really is the little things that make life worth living.
Your job is (probably) safe from AI
I write a lot about AI on my blog. I've spent my career studying AI. I completed a doctorate using neural networks to write music, and I worked on AI at one of the biggest tech companies in the world. So when I tell you that your job is probably safe from AI, it's not an uninformed opinion.
The natural response to this argument is simply to point to the recent layoffs. Those are due to the economy. AI is just the cover story to protect the stock price.
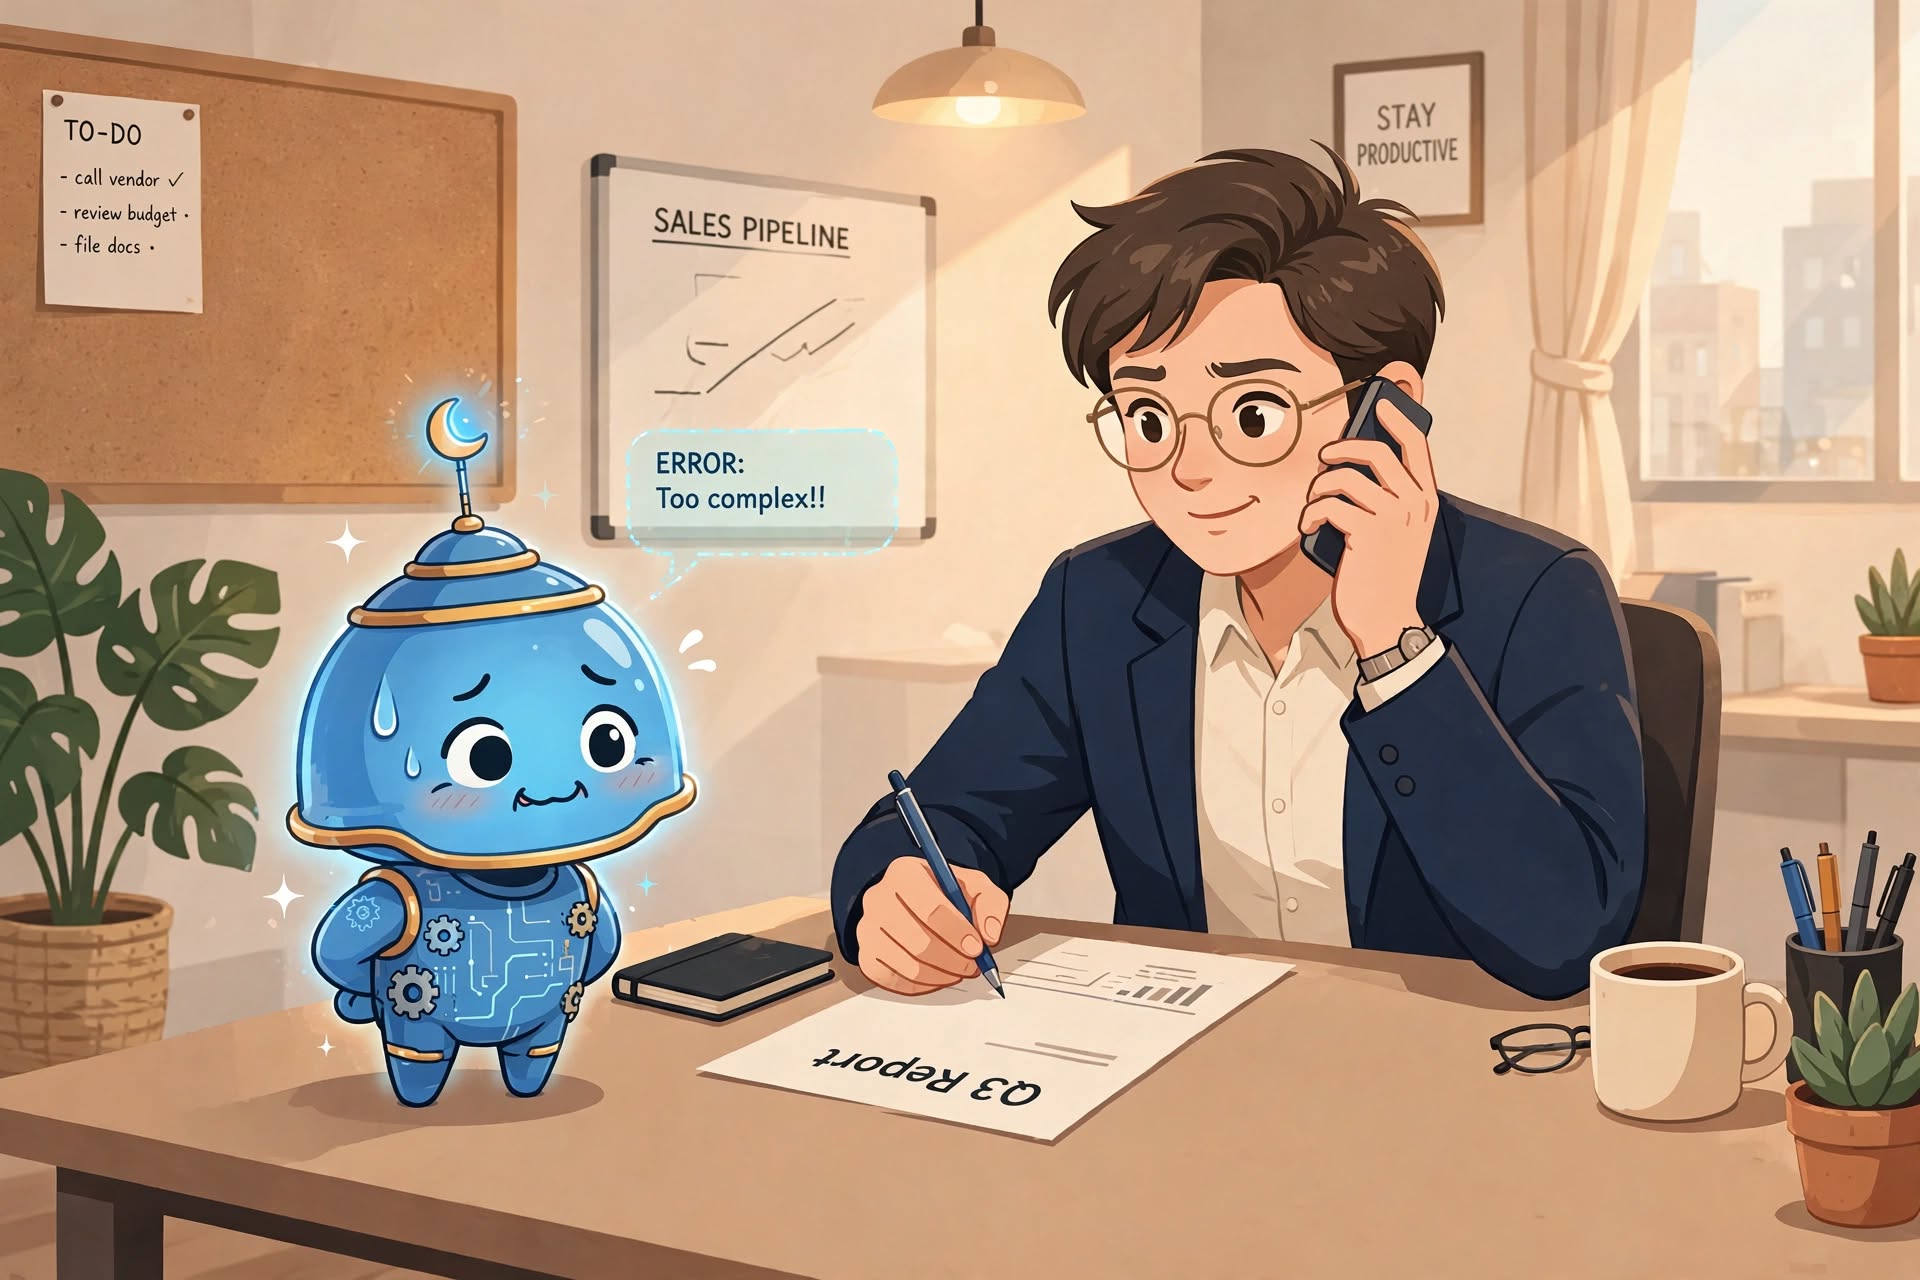
Here are five reasons why your job is (probably) safe from AI.
1. AI is expensive
Have you seen all the stories in the news about exploding AI costs?
Well, without a significant technical advancement, this is the cheapest that AI will ever be. AI is currently being subsidized by venture capital funding. The VC firms are trying to get you addicted to AI at a cheap price so that they can create a market, then raise the prices to where it is profitable.
Your employer is already struggling to justify their spending on AI. They aren't going to be happy paying more for a technology where the benefit is still so poorly defined.
2. The caching problem
AI can never be as cheap as traditional SaaS businesses due to the caching problem. I've written about this at length, so I'll just quote myself here.
The fundamental problem facing everyone in the AI race is that requests to AI can't be cached in the same way. Even if users are making very similar requests, they might not want exactly the same response. In other words, when user A tries to generate a cartoon image of a cat, they probably want one that looks like their cat. When user B makes the same request, they probably don't want the same image as user A.Everyone knows that AI involves some very complex math that uses Generative Adverserial Networks. These networks, even when not in training mode, can't be cached like traditional web requests. They need to be run on actual servers.
This is what has resulted in the big debate about server resources. AI inherently requires more computing power than traditional web services.
The point here is not that AI can't use caching, it does. The point isn't that AI can't scale, it can.
The point is that it will never be as affordable as a traditional SaaS application. Even when many of the currently known problems are solved, it will still be at least an order of magnitude more expensive than a typical API.
3. AI is unsustainable
Sustaining the internet requires an immense and efficient supply chain. The world needs thousands of new CPUs and GPUs every day, and it can barely make them fast enough.
Sustaining AI requires an order of magnitude more materials that are difficult to engineer and manufacture at scale. Our world can't even keep up with the scale of AI needs today, as can be seen in the exploding cost of computer memory and graphics chips. How is the world going to sustain AI usage when climate change really starts impacting our global supply chain? The broken supply chain during COVID was a sneak preview of what's going to become more and more frequent in the next decades. It will be a miracle if we can keep the worldwide internet up, let alone the additional needs of running LLMs.
4. Large problems require impossibly large context
Doing your job well requires an immense amount of knowledge. It requires knowledge about the business you work for, knowledge about the customer, and knowledge about how to execute your day to day tasks. For LLMs, this information is called the context window, and it limits the amount of information that an LLM can use to reason about a problem. Expanding the context window is difficult, and the models that use larger context windows are more expensive to run.
There might come a day when an AI can hold all the information needed for relatively small jobs, but even that AI will be expensive, and it's never going to be able to do the high level tasks related to your job.
The real job in software engineering is managing the complexity of the codebase, and this can only be done with a high level understanding of the code and architecture that can't be fit into even a large context window. To a greater or lesser degree, this is true of all office jobs.
5. Some of these problems are unsolvable
The final reason why AI probably isn't going to take your job is that some of the known problems are unsolvable. There are many blank spots on the map of AI that we don't think we can fill in. Even when looking at relatively simple parts of the AI infrastructure that we use today, there's lots of stuff that isn't a 100% reliable solution. This applies to AI guardrails, caching, and even data interchange protocols like MCP.
I've already written about the problems with MCP, so I'll just quote myself again.
The MCP spec doesn't specify how to trigger tools/actions based on the prompt or the output of an LLM. In other words, there is nothing in the spec that says what the user or LLM must say in order to tell the client to fetch data from the MCP server.This leaves each client to do things a little bit differently, and it means that each client is going to be developed based on however their favored model works. A trigger mechanism that works for one client/model/host combination might not work as well for another client/model/host combo.
This is a massive blank spot in the MCP spec, and is, arguably, the most difficult part of this problem. The spec makes it clear that MCP client to MCP server communication is via JSON-RPC, but it leaves out how the LLM to MCP client communication is supposed to occur.
There are dozens of similar problems facing the AI industry today.
AI is still going to change the world
For these reasons, your job is probably safe from being taken over by AI, but that doesn't mean that AI isn't going to change things. The ability to run a machine that can think at a nearly human level is an incredible super power. It's going to change the way we work and plan and think about the future. You should be learning how to use it, and figuring out how it's going to be useful to you in your life.
Your job is probably safe from AI, but it's definitely not safe from the state of the economy.
The MCP spec looks like AI slop
For the past few years, I have worked in artificial intelligence at big tech. In that role I have had the good fortune to work on the bleeding edge of AI tech, but I never had the opportunity to dig into the emerging hype around Model Context Protocol (MCP).
MCP is a way for LLMs to interact with data sources. The model is the AI/LLM that is doing the reasoning. The context is the data source that provides information necessary for the problem. The protocol is a way to connect them.
The problem is that there is one crucially bad design decision in the MCP specification, and one blank spot in the MCP spec. Both of these reveal that the MCP spec was probably created by AI.
Problem 1: MCP clients are tightly coupled to MCP servers in an unscalable way
Here's the example given by Anthropic of how the MCP client works.
Visual Studio Code acts as an MCP host. When Visual Studio Code establishes a connection to an MCP server, such as the Sentry MCP server, the Visual Studio Code runtime instantiates an MCP client object that maintains the connection to the Sentry MCP server. When Visual Studio Code subsequently connects to another MCP server, such as the local filesystem server, the Visual Studio Code runtime instantiates an additional MCP client object to maintain this connection.
If an AI-enabled application wants to use multiple MCP servers (multiple data sources), then it has to have a separate client application for every MCP server. If you need a custom client integration for every MCP server, then what is the value of the specification at all?
MCP claims that it works on a "client server architecture", so to better understand why this is probably AI slop, let's analogize to the client server architecture that everyone understands, the web. When browsing the web, the web browser is the client and the website is served by a web server. They communicate using tightly defined protocols. It's a very clear relationship.
But the MCP spec states that every single MCP server must have its own MCP client that sits like a babel fish in between the MCP server and the AI model. In the case of the web this would be like if you had to install a separate app for every single website you visited. So if you wanted to go to Amazon.com, not only would you need a web browser, but you would also need the Amazon app.
This is bad design because it creates several problems that should be obvious to anyone closely involved with the spec.
- This breaks the typical client server pattern because you need numerous clients to use numerous data sources. If a human had designed this, they would have asked, "why not put the work of the client application into the MCP server?"
- This is entirely unscalable. If you want your AI to connect with an arbitrary number of data sources, then you will now need an arbitrary number of MCP clients, which each require their own infrastructure, development, and maintenance.
Problem 2: There is no standard way to trigger actions/tools
The MCP spec doesn't specify how to trigger tools/actions based on the prompt or the output of an LLM. In other words, there is nothing in the spec that says what the user or LLM must say in order to tell the client to fetch data from the MCP server.
This leaves each client to do things a little bit differently, and it means that each client is going to be developed based on however their favored model works. A trigger mechanism that works for one client/model/host combination might not work as well for another client/model/host combo.
This is a massive blank spot in the MCP spec, and is, arguably, the most difficult part of this problem. The spec makes it clear that MCP client to MCP server communication is via JSON-RPC, but it leaves out how the LLM to MCP client communication is supposed to occur.
This creates several problems.
- The MCP client does ALL the heavy lifting. This shifts the burden from the MCP server, which is basically a passive data source, to the MCP client, which has to magically handle all the communication between the MCP server and the LLM.
- The heavy MCP client removes any benefits over RAG. One of the supposed benefits of MCP over RAG is that it's more generalizable, but once you dig in and discover the heavy MCP client, you can see that that isn't true.
- The MCP client tool trigger can lead to massive inefficiency. Most MCP clients are defaulting to triggering tools based on keywords in the LLM response, which is going to lead to wasteful overuse of MCP servers.
All of these problems mean that the MCP client is going to be very heavy, and you are going to need several of them, each with complex "business logic" relating to both the LLM and the MCP server.
The MCP specification is AI slop because it doesn't deal with the hard problems
To put it bluntly, the MCP spec is worthless as long as this tightly coupled heavy client exists in the spec. If you have to create a separate client for every single MCP server, then it isn't truly a client-server architecture. It just puts the burden on the AI host applications to do the custom coding to integrate each data source. And if each client can trigger tools in a different way, then what is the spec actually specifying? That we should use JSON-RPC for client server communication? Is that it?
The MCP spec looks like something useful, but when you dig into it, it leaves hard problems unsolved in a way that makes it look like AI slop.
I wanted to finish this post by describing what we could do to fix the MCP spec, but I'm not sure that I can solve that problem in a blog post.
I'm sure the MCP spec can, and will, be clarified in future specifications, but as of August 2026, it just isn't very useful.