
Is The Odyssey the best movie ever made?

Is The Odyssey, by Christopher Nolan, the best movie ever made? I'm not sure, but I think it belongs in that conversation.
It succeeds on every level. The writing is impeccable. The story is satisfying and rich (it's almost like it has been refined for thousands of years). The world feels real and lived in. All the characters, even small ones like Helen of Troy, have meaningful character arcs. The themes are deep and reveal powerful truths about human nature.
It succeeds in every possible genre you could put it into. As an action, adventure, or war movie, it is possibly the best ever made. It then somehow succeeds simultaneously as both a horror movie and a love story. It is successful as a monster movie and a coming of age tale.
It succeeds in every craft involved in modern cinema. The acting is inspired. The cinematography is literally breathtaking. The sound effects and mixing will punch you in the gut. Repeatedly. The special effects are top notch.
I've seen some complaints about the costumes. They seem to revolve around "historical accuracy" and Agamemnon's costume looking plasticky. As a viewer, you need to keep in mind that this isn't a tale from history, it's historical fiction. It's a fantasy movie, with magic, gods, and monsters. It has more in common with Game of Thrones than with Gettysburg. Yes, this is visible in the costumes.
I also see some complaints about the acting in spots, but I can't relate to those complaints at all. The acting seems entirely appropriate within the context of the film, and I think even includes some best-of-career performances by the top cast.
I just saw it two nights in a row, and I'd watch it a third time if a friend asked.
Ignore the trailers; they show nothing that matters to the movie. Ignore the fake controversies.
Just go see it, and prepare for a ride.
Is LeetCode still relevant in the age of AI?
I've been employed in tech for over twenty years now, and for the fifth time I find myself in the position of seeking a new job. In my career I've had a lot of titles. I've been a "Programmer", a "Web Developer", a "Lead Backend Engineer", a "Staff Software Engineer", an "Engineering Manager", and a "Director of Software Development". In all of these roles, I've either been writing a lot of code, or I've been responsible for a large codebase. When I interviewed for all of these roles, I had to go through several rounds of coding interviews. So when preparing to interview, I spent a lot of time on LeetCode.
As any programmer can tell you, LeetCode is a platform for practicing the type of problems that frequently appear on coding interviews. In fact, you can practice for almost any question you will get on a coding interview on LeetCode. If LeetCode doesn't have the exact problem in its database, then it will have an analogous problem that can be solved in the same way.
As I enter another round of interviews in 2026, I find myself wondering if LeetCode remains as relevant today as it was in the past. Are these types of coding questions still relevant to programming when AI is going to be writing so much of the code? Does it still matter if I know all the different search algorithms? Does it matter if I have an encyclopedic knowledge of data structures?
The changing expectations for software developers
Whether you like it or not, the expectations placed on a software developer are changing. The people in those roles today are not doing the same thing that they were ten years ago, or even five years ago. What they will be doing five years from now is even less clear, but based on my experience at both startups and in big tech, I can see a few trends emerging.
More speed. More volume. More code.
By incorporating new AI models into developer workflows, developers are expected to produce more code faster. This means both writing more code, AND reviewing more code.
In the four years at my most recent job, the expectations for writing code more than doubled. When I started there, developers were expected to submit around two pull requests (aka diffs) per week. When I left, developers were expected to submit more than one pull request (diff) per day.
A similar thing occurred with code reviews. When I started there in 2022, we were expected to merge (aka land) our pull requests in a timely mannger. When I left in 2026, we were expected to review hundreds of pull requests (diffs) per quarter.
Participation in all aspects of software development
Developers are also expected to be able to spend more time doing things other than writing code. Because the AI is freeing up time we would have spent understanding a codebase, we are expected to invest that time into other aspects of development, such as planning, design, and analysis of the resulting work.
It's expected that most software developers today can contribute to all stages of software development. This means understanding how to use visual design tools such as Figma and Adobe products, but it also means understanding how to measure the success of your work using analytics and basic statistical tools such as A/B testing.
During my time in big tech, it was expected that I could quantitatively show the revenue impact of my work by setting up and running experiments. I had to discover the project, push the design process, write the code, run the experiment, then present the results to my peers and defend the value of the work.
Not all companies may be as demanding as big tech, but all programmers are expected to have some skills beyond just the ability to write code in 2026.
How does LeetCode help developers in 2026?
Amidst all this change, it's reasonable to ask whether a website that helps developers break down problems quickly and regurgitate known solutions is still valuable. I think that LeetCode is still valuable because it helps with two big problems facing software developers today: getting the job, and maintaining a high bar for software quality.
LeetCode helps you get the job
The fact remains that coding interviews are a prerequisite to doing the the job. You will never get the opportunity to write code using the newest AI models if you can't pass the coding interviews. LeetCode is still one of the best ways to prepare for coding interviews that aren't going away any time soon.
LeetCode helps you apply and recognize data structures and algorithms in real world situations
Despite all this change, the core problem of software development is still the same thing that it has always been: maintaining complexity.
The hard part of software development has never been the writing of the code. The hard part of software development has always been writing the code in such a way that future development and maintenance of the product is still feasible.
The challenge of integrating AI into software development is that it allows developers to write code much faster, but it also allows them to make mistakes much faster. This means that being able to recognize non-scalable patterns, inefficient data structures, and slow algorithms is critically important.
After all, when you are expected to review hundreds of pull requests per quarter, you have to learn to spot the things that will harm software development in the future.
By offering many different toy problems, LeetCode trains developers to see the things that might slow them down in the future. LeetCode trains developers to have algorithmic fluency. It trains them to see the similar algorithms and data structures that underlie problems that may appear quite different on the surface.
So I'm going to keep on training on LeetCode.
Is Beiler Mast a real person?
I recently posted about a strange video I found on social media where an Amish guy pets a fat man's belly and boils a weird home remedy. This video caught my eye because asceticism is something I'm thinking and writing about right now. The Amish, and other groups who abstain from some modern technology, are practicing a form of asceticism where, by living a simpler life, they are trying to live a more spiritual life. This is what gives influencers like Beiler Mast an air of authenticity and makes their advice seem more plausible.
A month after writing that blog post I checked my Google Analytics search results, and noticed that the query "is beiler mast a real person" was now the top query for my blog. This confused me, because I only watched the one video from the guy. He seemed real enough to me. I still wouldn't take medical advice from him.
So why were so many people searching for whether or not he was real?
TLDR: Beiler Mast is (probably) AI generated
Well, I spent some time looking at his videos, and I will show the proof below if you want to read on, but the TLDR is this: Beiler Mast is likely an AI bot who is being used to sell supplements.
Evidence that Beiler Mast is AI generated
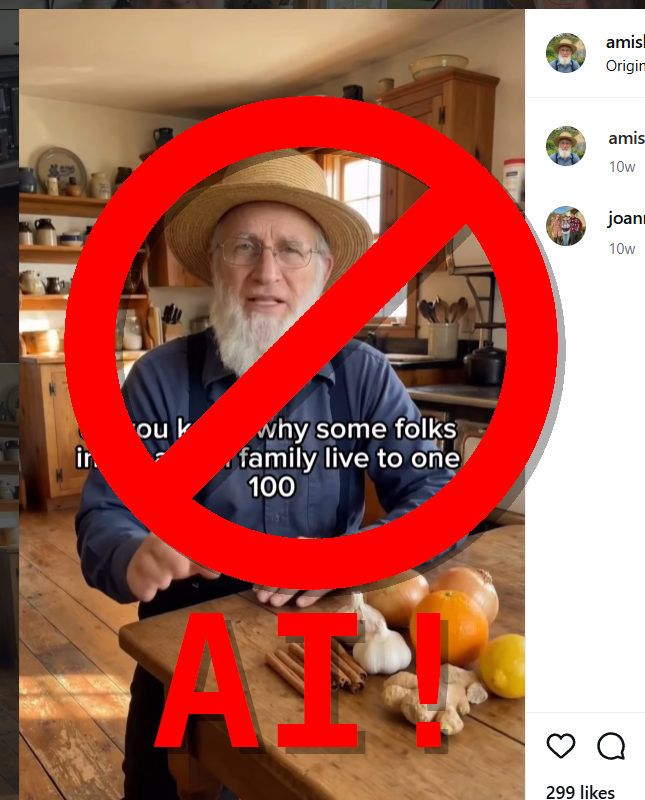
All you really need to do is watch a few of this guy's videos to see that they are AI generated. When you watch them, pay attention to a few things.
- Intonation of the voice. Does the intonation of his voice convey emotion and meaning using intonation, or is the voice flat and emotionless?
- Background activity. Does the background look and act like the background of a video recorded in reality, or does the background repeat in weird ways?
- Location consistency. Are the videos recorded in consistent locations, or are the locations slightly different each time?
I made a YouTube video to show the issues with his videos.
Is Beiler Mast a real person?
Is Beiler Mast a real person? Probably not. I can say for certain that most of the content on his Instagram page is AI generated. Does that mean that he's not a real person? Not for certain.
Beiler Mast's social media videos are generated by starting with a single image, then using AI to create clips of audio and video that are edited together to form full videos. Hypothetically, it could be that the starting images are real, and the text of the videos is written by him, then AI is just used to generate the videos. But this seems extremely unlikely to me.
If this guy is real, then he has an absolutely massive house and/or farm, with many different stoves, many different fireplaces, and many different barns. It's very unlikely, although not totally impossible.
I want to clarify one common misconception about the Amish and other similar sects, however, because some people might watch his videos and think that he can't be real because he's an Amish person using a video camera and lighting and editing software. Amish people, and similar sects, are not hardline luddites. The various religious sects that abstain from some modern technology do not abstain from ALL modern technology. Also, different Amish people may choose to adopt some modern conveniences or not. There is a wide range of technology use among Amish people, so don't think that him using technology inherently means he's not real.
But I want to end this post by pointing out that his videos are not good medical advice.
Beiler Mast is not a reliable source for health advice
Beiler Mast is not a doctor. Don't take the advice on the amishremedies Instagram page seriously.
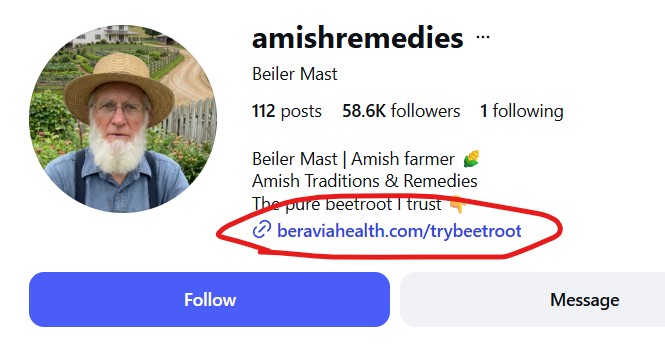
When you go to his Instagram profile, you see a few things. The text says "Beiler Mast | Amish farmer", and it claims to be dispensing "Amish Traditions & Remedies". It contains only one link. That link goes to a page that sells beetroot supplements.
The Beravia Health website looks a lot like a supplements scam. It pushes the hard sell with a banner that says "DEALS ENDING MIDNIGHT" and "SELLING OUT FAST". This is an attempt to get desperate people with unexplained health conditions to make a purchase before they realize that the salesperson is not trustworthy.
Also notice the price. Beets are extremely cheap from the grocery store. If you really think you need something that is in beets, then go buy them from the grocery store. Don't pay hundreds of dollars for a company to grind them into dust and put them into capsules.
Now, it's important to note that none of this appears to be illegal. This is a company selling supplements using an AI persona. I don't think this violates any laws at all.
It just looks a lot like the supplement scams that are extremely common on the internat.
I don't know anything about Beravia Health and the quality of their products. Maybe they're great. According to WebMD, Beetroot DOES have some health benefits. I can't say anything about Beravia Health.
What I can say is that Beiler Mast is most likely an AI generated persona, and not a trustworthy source for health advice.
Inviting wildlife into your yard means inviting ALL wildlife into your yard
I talk a lot about all the great aspects of native gardening. I talk about how native gardens require less care, support wildlife, and can be beautiful as well. But I'm guilty of a major sin of the native plant community: I rarely talk about the drawbacks of native gardening.
Today I want to talk about something that few native gardeners harp on: pests.
Like all gardeners, I struggle with pests in my garden. I'm very close to the city here in Willow Glen, CA, so I mostly deal with city pests. I have raccoons, ants, possums, and very rarely, coyotes. Today, however, I want to talk about rats, and how these pests are connected to the philosophies of native plant gardening.
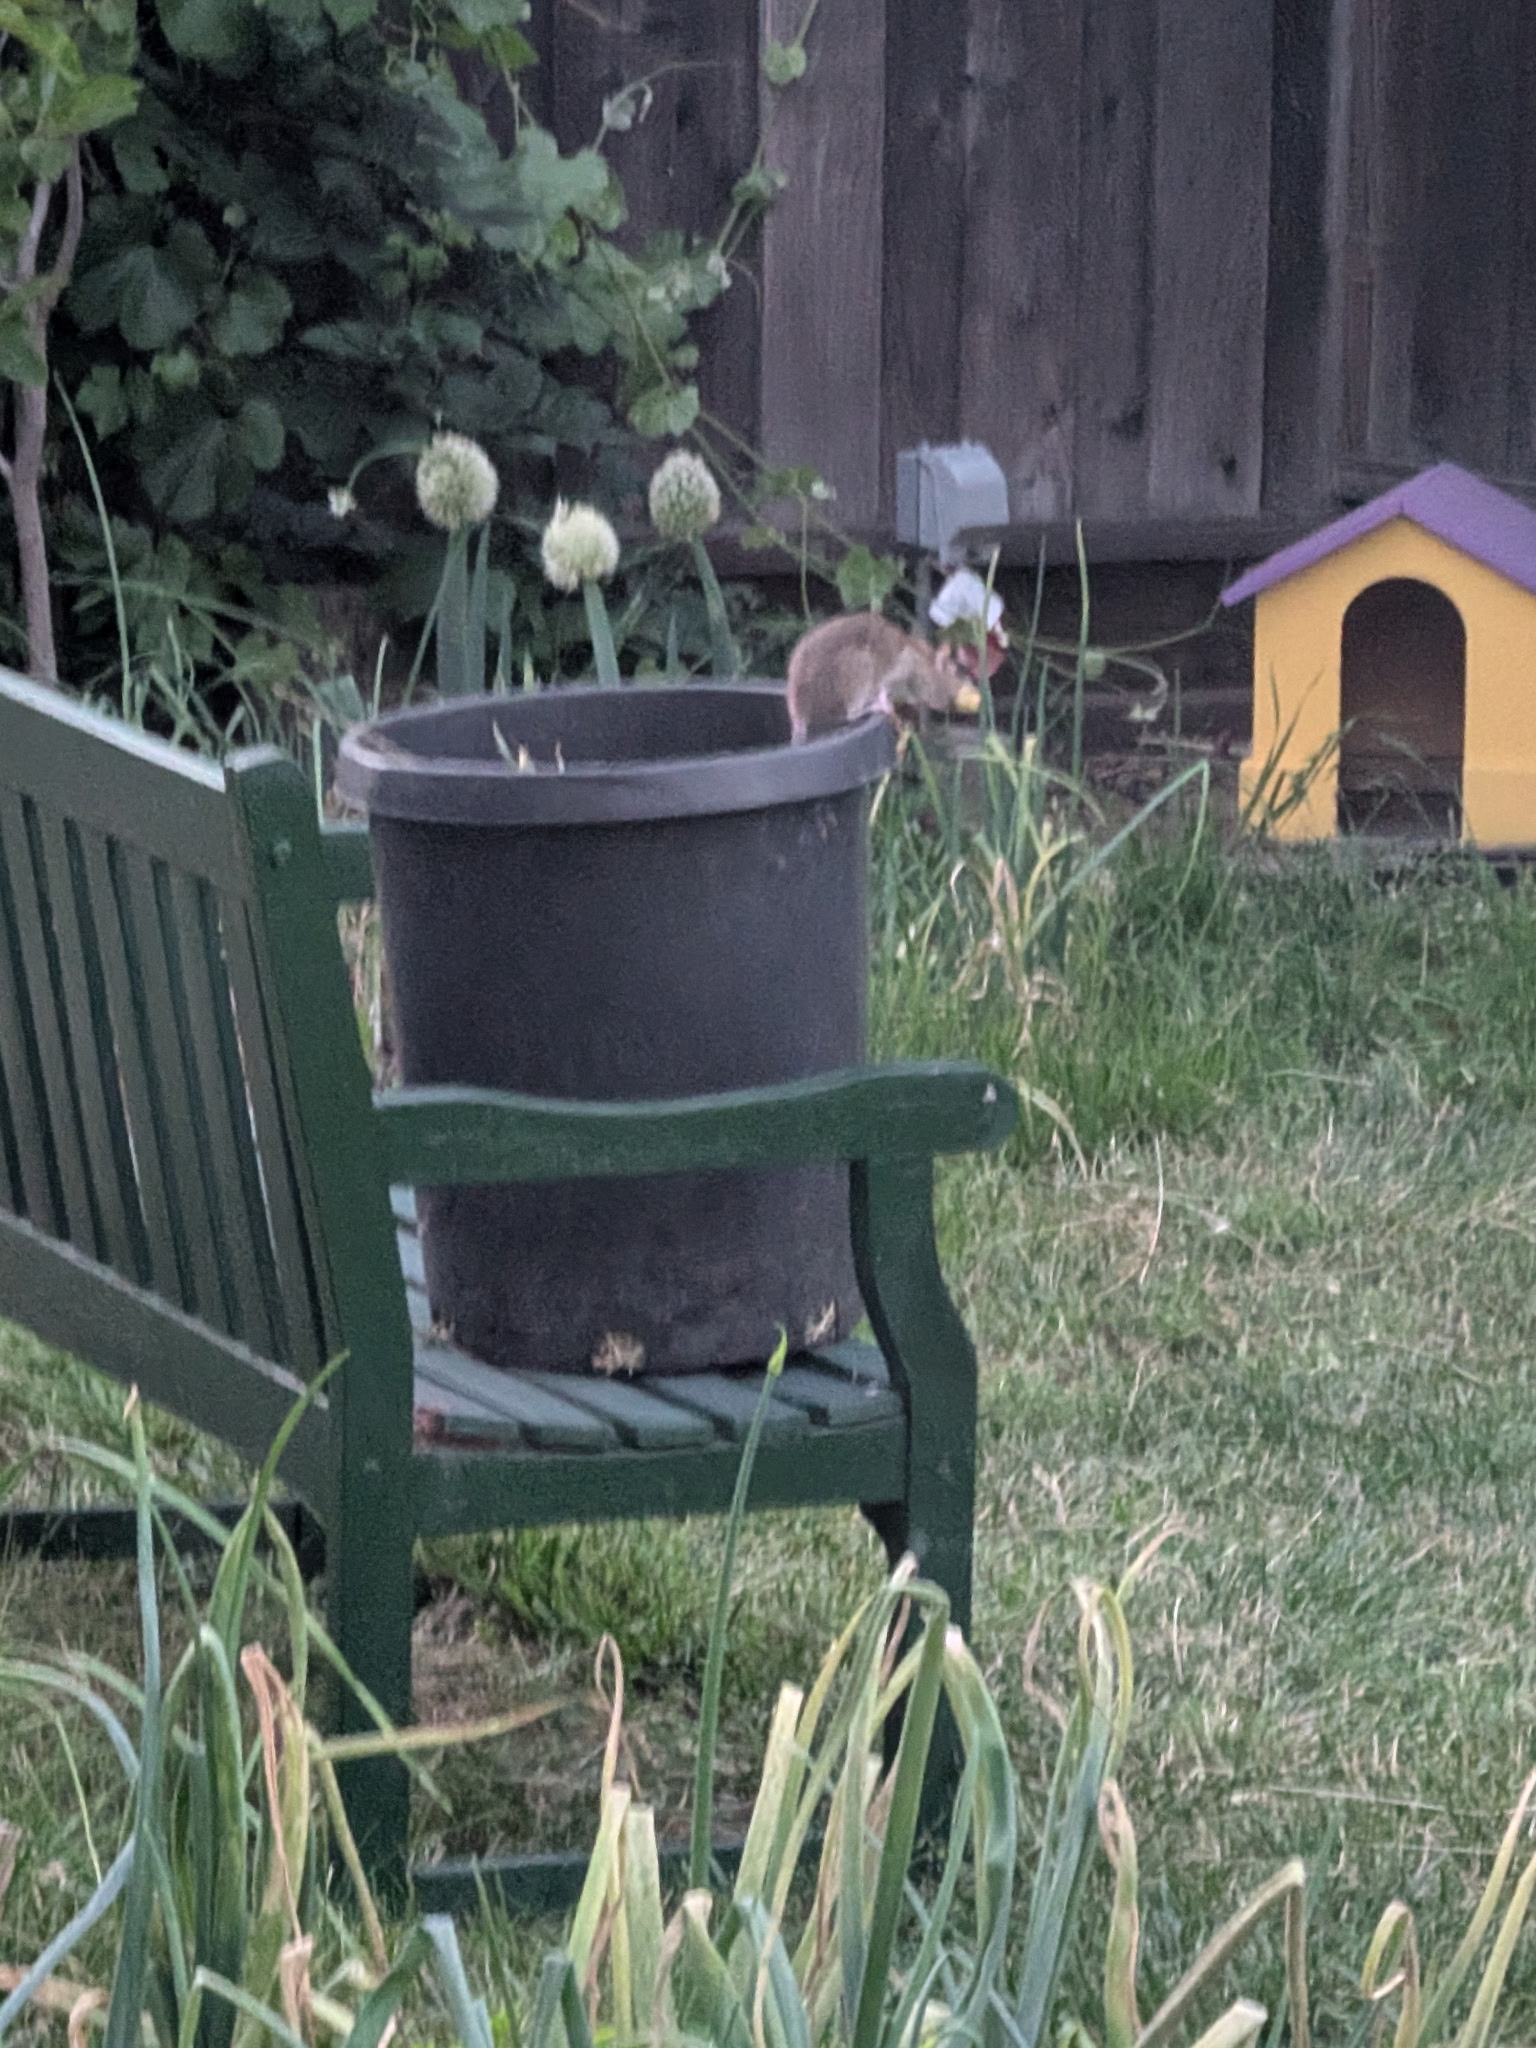
Here's a picture captured by my daughter, that shows our rat standing on top of my bin of yard clippings and food scraps. That bucket is about to go into the compost, but before I could get it there, he snuck in and grabbed a piece of food.
The problem with pests in native gardens is a result of gardening in a safe, clean, and sustainable way. When you garden without pesticides and other chemicals, you are making a very inviting place for the local wildlife. When you plant native flowers in your yard, you are inviting the local birds and pollinators into your yard.
And, as any native plant gardener will tell you, it's glorious to see wildlife in your own yard. I love looking out my front window to see a hummingbird dipping its beak into every flower on my bladderpod. I love seeing the local birds going for a dip in my bird bath. I love seeing the monarchs laying eggs on my milkweed.
But when you invite wildlife into your yard, you invite ALL wildlife into your yard. Life exists not as disconnected individuals, but as a collection of species that depend on each other in a vast and complex web. By making a place that is good for one species, you are actually making a space that is good for MANY species.
When I first stopped using pesticides and started planting native plants, I noticed increased insect activity. In the first year, I had a hard time with aphids. They proliferated rapidly and infested some of my plants. But by inviting nature into my yard, I also invited aphid predators into my yard. By the second year, the predators had found my yard as well. Predators like lady bugs ate enough of the aphids to mean that they were no longer a significant pest.
Still, aphids weren't the only critters that found our yard.
Other predators were less desirable in the yard. My daughters hated the spiders at first, but if you aren't spraying your yard with pesticides, then you are setting up a smorgasboard for the spiders. After a few years they have adjusted to seeing a spider now and then, but they still don't love them.
The ants have also been an issue. At times we've had to move our trash cans, and clean up thoroughly in order to prevent the ants from coming indoors. It has been a struggle.
But in my garden, the worst pest is the rats. It's so embarrassing when I'm showing someone my garden and then a rat runs by. This actually happened during the Growing Natives Garden Tour. I was talking to a visitor about the plants in my yard, when a rat ran right across the sidewalk to hide in one of my bushes. I was embarrassed and had to explain that when you invite nature into your yard, all of nature will want to join in the fun.
Rats are troublesome, too, because they are difficult to control. I have been setting up kill traps all over my yard for a few months now, and although I've captured three of them, and a local cat caught one, I still haven't caught them all. There's still at least one living in my yard.
The point of this post isn't that native gardens attract rats. All good gardens will attract rats, especially if you have a good compost pile. The point of this post is that native plant gardening isn't all sunshine and bliss. It's hard work.
When you invite wildlife into your yard, you will get the wildlife you want...
and you will also get some that you don't want.
The problem is that my brain thinks in multimedia
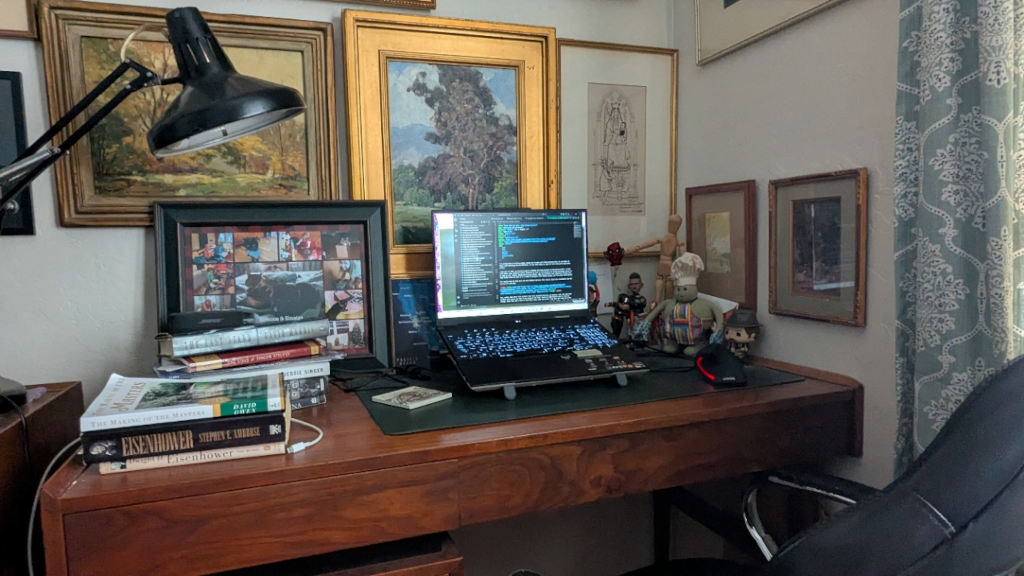
I'm sitting here, at my mid century Merton Gershun desk, surrounded by paintings of trees, trying to be a writer, when all I've ever been for my entire adult life is a blogger.
Blogging is comfortable for me. It's like my desk. It has all my favorite things. I can write a blog post almost automatically. I can sit down with an idea and bang out a blog post in 30 minutes flat.
Blog posts are easy for me because they are the writing format that I grew up with. Sure I wrote personal essays in school, and I wrote two reference books about music programming languages, but in the last twenty plus years, I've written hundreds of blog posts across several URLs. Blog posts are my vernacular.
Even as I type this post, I feel the compulsive need to insert images and links. There's a picture of my desk as a substitute for the ability to describe my work area using actual words. There's a link to an article about Merton Gershun so that I can pretend like I didn't start buying his furniture just because I thought he had a funny sounding name. There's a link to my prior writing so I can give the illusion that I'm a writer.
Blog posts were born of the technologies that I grew up with. HTML, digital cameras, a touch of css, and a little bit of javascript. With these things I am comfortable. Together they can be used to describe my thoughts accurately, because I think in "MULTIMEDIA!"
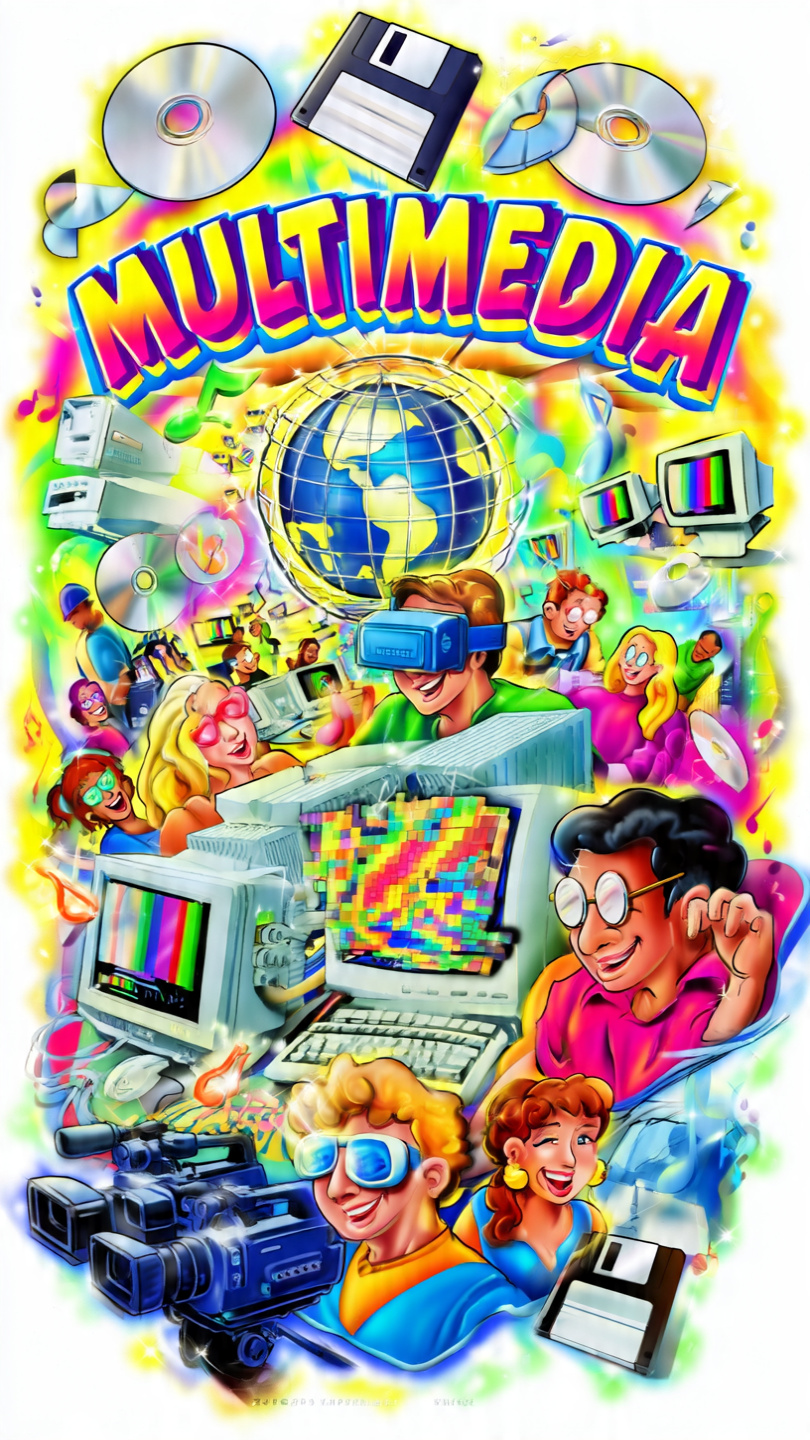
Multimedia was a huge thing when I was a teenager in the 1990s. I don't hesitate to say that "Multimedia" was legitimately a powerhouse of the weird corporate edutainment culture that somehow pervaded the entire world in the 90s. In the 1990s, you heard about multimedia everywhere. It was the future of computers, entertainment, publishing and teaching.
We literally learned how to make "multimedia" in school. They would show us videos about how to use and access multimedia in the library. They would teach us how to use esoteric multimedia devices that I never saw again in my life. I even remember teachers bravely allowing us to choose whether to write an essay, make a video, or create a webpage for some projects.
It's only natural that I started thinking in multimedia and that I feel drawn to turn that into blog posts. But as I begin to try to assemble a collection of words into something that might be a book, I'm starting to see how thinking in words is very different from thinking in multimedia.
In a way I use multimedia as a crutch and a distraction.
I include lots of miscellaneous links and images so that you don't notice that I'm not actually a very good writer. Why would I push myself to write about Merton Gershun when I can just link you to an article on some other website?
I also use multimedia to disguise the fact that I'm too scared to actually write honestly and openly about my own thoughts, feelings, and opinions. In a way I use multimedia as a screen that I can hide behind. I can pretend that I'm just here sharing pure facts with my audience, and thus it isn't weird that I'm not actually saying much about myself.
The blog posts I prefer to write are short and to the point. If you look at a few of the posts that have traveled with me from url to url, you can see that I mostly tended to write a title and a few sentences, then link to the piece of media I wanted to share.
But if I'm going to write something longer. An essay, or even a book, then I need to break those habits. I need to teach myself to rely on the written word, and I need to teach myself to share openly and honestly. I need to invite people into my world without fear that I'm a mediocre writer and a boring person.
So that's why I wrote this post. Hopefully it is the first step in breaking my multimedia addiction.