
How to build a full stack LLM chat service with Ollama and JavaScript
This post is my attempt to share a full stack "Hello, World" application using JavaScript, NodeJS and Ollama. It's a simple website that allows users to chat with an LLM.
This example doesn't require you to sign up with cloud service providers or run anything outside of your own computer. The model, the api, and the frontend JavaScript all run on your local machine.
In a production situation, these tasks would be split out onto multiple computers with a lot of RAM and VRAM. The API would run on one web server, the model on another, and the frontend on a client computer. So unless you have a pretty beefy machine, you should expect the result to be slow.
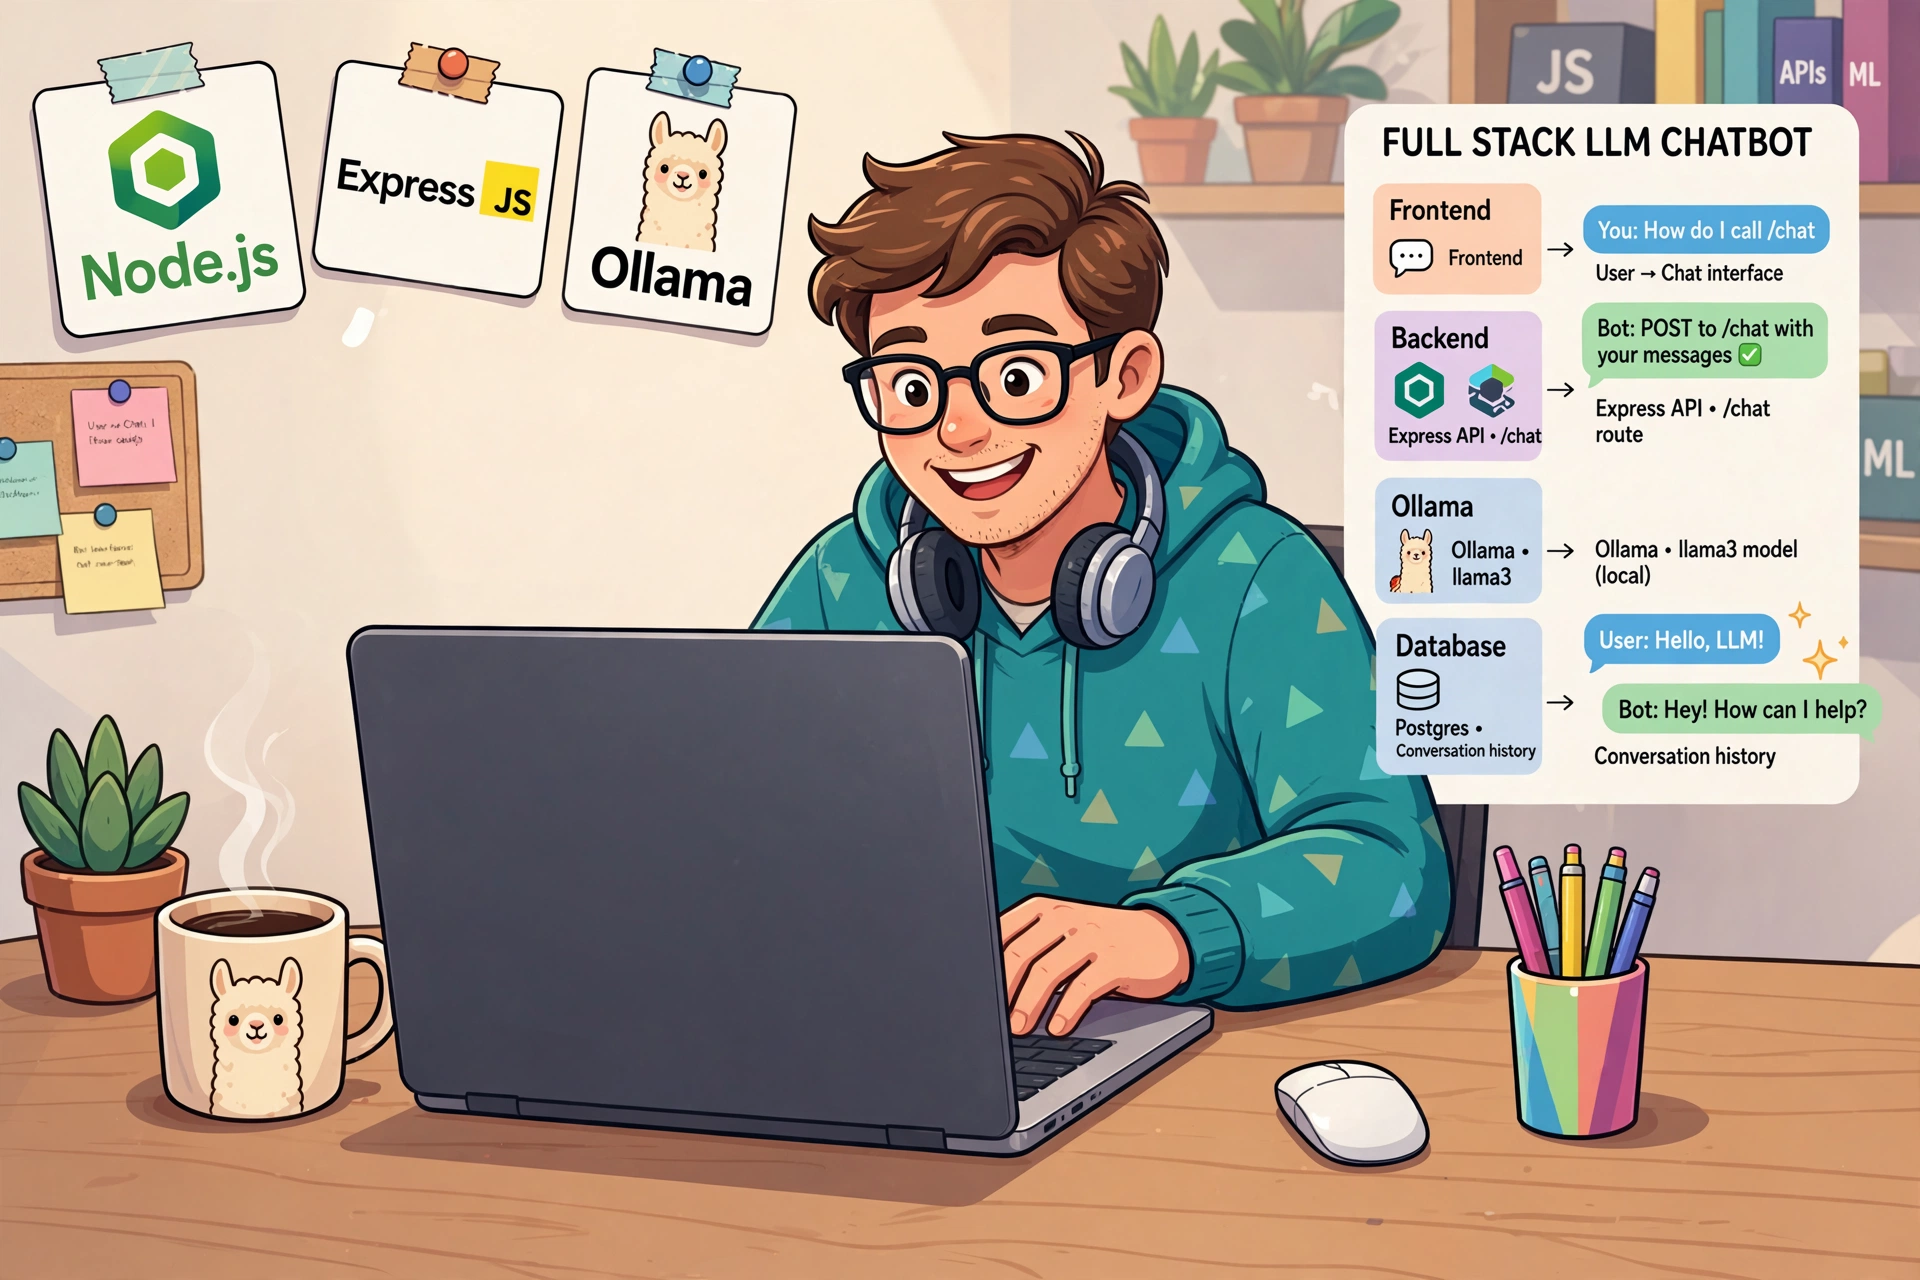
How to build a full stack LLM service with Ollama and JavaScript
There are many ways to do this, but you DO need to have some understanding of web programming in order to make this happen. I'm assuming that you have nodejs and npm installed on your computer. I'm assuming that you know how to run console commands.
1. Get the API running
In a previous post, I showed you how to put up a simple web API to chat with an LLM. We're going to start this full stack project with that API as a base. So go execute that tutorial, then come back here when you have a functioning API. Make sure to validate your API by running it, and sending a web request to it using a client like Yaak.
2. Create the JavaScript frontend
Now we need a script to actually access the API. We will have our same project serve a static html file with a basic chat interface.
This html file will include a text box for entering a prompt, a submit button, a container for the response, and a title. I'm leaving it deliberately simple in order to demonstrate the basic interconnection between the different services involved.
Type this into a file called index.html in the root of your project.
<html>
  <head>
    <script>
      async function handleSubmit() {
        let prompt = document.getElementById("prompt").value;
        if(prompt != null && prompt.length > 0) {
          // hit our local chat API
          let response = await fetch("http://localhost:8181/chat", {
            method: "POST",
            headers: {
              Accept: "*/*",
              "Content-Type": "application/json",
            },
            body: JSON.stringify({
              prompt: prompt,
            })
          });
          // interpret the response
          if(response.body != null) {
            const reader = response.body.getReader();
            let text = "";
            let chunk = await reader.read();
            // this should be using the done parameter to chunk out the response, but there is some implementation issue that I'm just going to ignore...
            let newChatChunk = new TextDecoder().decode(chunk.value);
            text += newChatChunk;

            let responseAsObject = JSON.parse(text);
            document.getElementById('response-container').innerText = responseAsObject.response;
          }
        }
      }
    </script>
  </head>
  <body>
    <h1>My amazing LLM chat service</h1>
    <div id="response-container"></div>
    <div id="input-container">
      <input type="text" id="prompt" value="Why is the sky blue?" />
      <button onClick="handleSubmit()">Submit</button>
    </div>
  </body>
</html>
3. Modify the Node/Express server to serve the HTML file
Next we need to modify our node/express server to have a frontend. We will add a route that serves the html file we just created.
Add the following code to app.js below the API endpoint.
app.get('/', (req, res) => {
  res.sendFile('./index.html', { root: __dirname });
});
4. Run the app
Finally, you just need to run the web server. Remember that you need to restart Node/Express every time you make a change. Use the following command to run the server if you followed my instructions in the prior post.
npm run dev
Now the chat interface should be visible and functional at http://localhost:8181/.
Extending your basic chat service
I hope this template provides a good starting point for you. When you extend this, you will need to provide all the basic stuff that is important to a website, https support, CORS, authentication, and more.
The larger issue is that the LLM is running on the same server/computer as the website and API. The first problem you need to solve when building a service like this is how to run the model in a scalable way, and how to connect it to the user facing part of your website.