How to set up stable diffusion on Windows
In this post, I'm going to show you how you can generate images using the stable diffusion model on a Windows computer.
How to set up stable diffusion on Windows
This tutorial is based on the stable diffusion tutorial from keras.io. I started with that tutorial because it is relatively system agnostic, and because it uses optimizations that will help on my low powered Windows machine. We only need to make a few modifications to that tutorial to get everything to work on Windows.
Steps
- Install python. First, check if python is installed using the following command:
python --version
If you already have python, then you can skip this step. Otherwise, type 'python' again to trigger the Windows Store installation process.
- Install pip. You can install pip by downloading the installation script at https://bootstrap.pypa.io/get-pip.py. Run it using the following command.
python get-pip.py
- Enable long file path support. This can be done in multiple ways. I think the easiest is to run PowerShell as administrator, then run the following command:
New-ItemProperty -Path "HKLM:\SYSTEM\CurrentControlSet\Control\FileSystem" `
-Name "LongPathsEnabled" -Value 1 -PropertyType DWORD -Force
- Install dependencies. I had to manually install a few dependencies. Use the following command to install all needed dependencies.
pip install keras-cv tensorflow tensorflow_datasets matplotlib
- Save the code to a file. Save the following code into a file called whatever you want. I called mine 'stable-diffusion.py'.
import time
import keras_cv
from tensorflow import keras
import matplotlib.pyplot as plt
model = keras_cv.models.StableDiffusion(img_width=512, img_height=512)
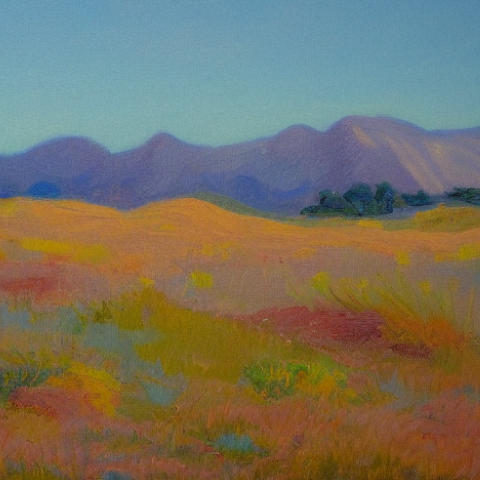
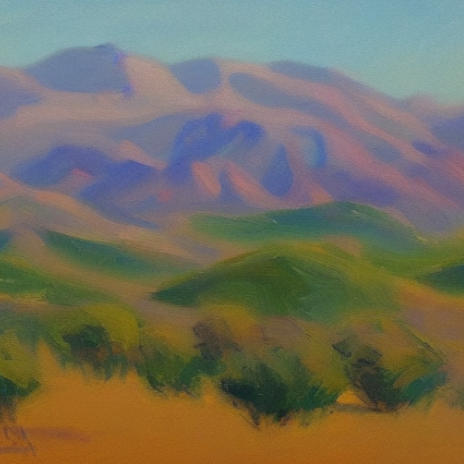
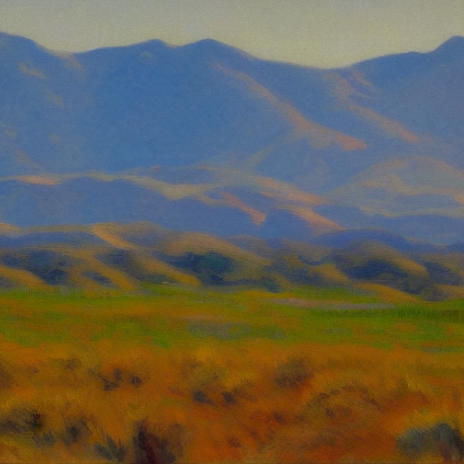
images = model.text_to_image("california impressionist landscape showing distant mountains", batch_size=1)
def plot_images(images):
plt.figure(figsize=(20, 20))
for i in range(len(images)):
ax = plt.subplot(1, len(images), i + 1)
plt.imshow(images[i])
plt.axis("off")
plot_images(images)
plt.show()
- Run the code.
python stable-diffusion.py
- Enjoy. To change the prompt, simply alter the string that is fed into 'model.text_to_image' on line 8. Here are my first images created using this method and the given prompt.